
You’ve taken hundreds or thousands of photos, but as soon as you look at your phone or computer screen, you realize that no matter how hard you try, the quality isn’t there.
The colours are either off or too dark or just plain boring. It doesn’t have to be that way.
With some simple adjustments to your camera settings and post-production editing on your computer, you can take better pictures than ever before.
Use a DSLR camera
If you want to take high-quality photos, you’ll need a DSLR camera.
In addition to the fact that DSLR cameras offer more features than point-and-shoot devices (such as interchangeable lenses), they also have larger sensors and dynamic range.
When it comes to the quality of your photos, these things matter.
Shoot in RAW
Shooting in RAW will give you the most flexibility when editing your photos.
It’s much like shooting with film, as the files contain all of the information from your camera’s sensor and are not compressed like JPEG files are.
This means that you can make changes to things like white balance, exposure compensation, contrast levels and sharpness without losing any quality from what was captured by your camera at first.
If it’s important for you to edit your photos after a shoot (and it should be), then shooting in RAW is essential if you want to get good results later on.
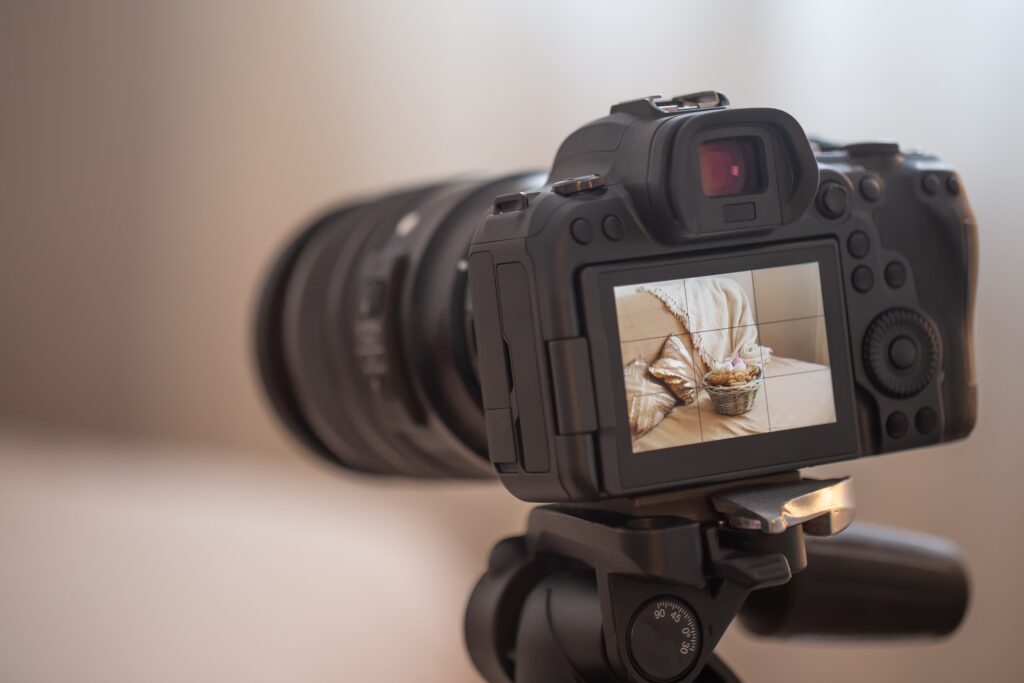
Use a tripod

The most effective way to improve your photos is to use a tripod. A tripod allows you to take long exposures, which can be used to create dramatic effects such as silky water and blurred objects in motion, like people or cars. They also allow you to take photos at night without using a flash and capture sharp images at high ISOs
Think about composition
The first step to becoming a better photographer is understanding how to compose your photos. As you take pictures, think about the following:
- Frame your subject – Where is it in relation to the edges of the frame? Is it cut off by any elements of the photo? Do those elements work for or against the story you’re trying to tell?
- Get the right angle – How does this element relate to other items in your shot (if any)? What emotions does this image evoke? How does it make you feel when looking at it now, and will that feeling change depending on where it’s placed in relation to other objects in your frame?
- Think about the background – What kind of light source do you have–natural or artificial–and how does that affect what’s behind your subject (such as shadows).
- Use leading lines – leading lines are apparent paths that lead directly to an object or person at a focal point of interest within an image. Leading lines can be horizontal (trees), vertical (buildings), diagonal(roads), and even circular(the moon).
Adjust the ISO
Adjusting the ISO is a great way to improve the quality of your camera’s image.
It can be confusing if you’re not sure what it means, but don’t worry—we’ve got your back!
ISO refers to how sensitive the camera’s sensor is.
The lower the number, the less sensitive it will be; conversely, higher numbers make for more sensitivity.
So if you have an ISO 400 setting on your camera (which means it will be very sensitive), then when there’s not much light around it may take much longer for your shutter speed and aperture settings to adjust themselves so that they get enough light onto your image sensor.
If you raise that number up too high though—like 2000 or even 6400—then there’s too much sensitivity for those other settings and things start getting blurry because there isn’t enough time for all three settings (shutter speed, aperture size and ISO) to adjust themselves together properly before snapping another picture!
Adjust the shutter speed

Image credit: Digital Photography School
The shutter speed is responsible for how much time the camera’s sensor is exposed to light.
A faster shutter speed means that less light will be allowed into the camera, and a slower one will let more in. In general, your shutter speed should be about 1/1000th of a second for daytime shots and 1/250th at night.
You can use this setting to improve many different types of photos; for example:
If you’re taking pictures of moving objects like cars or people on skateboards, try using a fast shutter speed to freeze the motion in place.
This creates an interesting effect that makes it look as if they’re not moving at all (even though they are).
Figure out your white balance
White balance is one of the most important aspects of photography and can make or break a photo.
It’s your camera’s way of compensating for the differences in light temperature coming through the lens.
This means that if you have a blue tinge to your images, it may be because they weren’t correctly white-balanced.
To set your white balance, select an option from Auto, Daylight, Cloudy, Shade and Tungsten/Incandescent Light options on your camera.
You may also want to try different settings based on what type of scene you’re shooting (e.g., snow vs sunset).
If none work for you, use Manual White Balance by changing the Kelvin value until it looks good enough for you!
Set up a studio to get the best lighting
- Use a lightbox. If you’re in need of a quick and easy way to improve the lighting in your photos, set up a small lightbox. This will help eliminate shadows, which can make people look older than they actually are. It also helps create the illusion of a good skin tone by illuminating all areas evenly.
- Use a reflector. You can use an aluminium-foil-covered cardboard box or just an old piece of white paper as long as it’s large enough to reflect light back into your subject’s face and body (think about how much extra ambient lighting shows up on someone who’s standing next to a wall). Position this reflector at 45 degrees so that it bounces off one side of your subject while creating catchlights in their eyes on the opposite side—this is particularly helpful if you want bright eyes but don’t want them too bright (i.e., “catching” too much light).
- White backdrop: A white backdrop will help create contrast between lights and shadows within your image, which helps with depth perception when looking at photos from afar (via computer screen). If you are renting a photography studio, do remember to ask about a white (or green) backdrop!
Use Photoshop to improve the quality of the photos
By now, you should have a pretty good idea of how to use Photoshop to improve the quality of your photos.
You can use layers to enhance your images and then blend them together using layer masks.
Alternatively, you can also use the clone stamp tool or healing brush tool to remove unwanted objects from a photo, or even make small changes in body parts if necessary.
This is just an overview of some basic techniques that you can use in Photoshop when editing your pictures.
There are many more advanced methods available as well, but they require some more advanced knowledge so we will save those for another time!
Good photos are great
Taking good photos is essential. Good photos are a great way to capture memories and can be used in many different ways.
They can be used to promote your business, for social media and blogging purposes, or for any other purpose that requires images.
In A Nutshell
There are lots of ways to improve the quality of your photos, and some require a bit more effort than others.
You should always try to shoot with a DSLR camera as it will give you much better results than any smartphone can.
Also, make sure that your photos are in RAW format because this allows for more editing options when they’re exported out of Photoshop later on down the road!